Image decals for Blender

Leave
a mark.

Every surface has a story.
Give yours something to remember.

Place a sticker. Wrap a pattern. Layer some wear.
Keep your marks editable, then bake them when you’re ready.

AN OUTLIER LABS TOOLBLENDER 4.2.23+A CLOSER LOOK ↓
Latest releaseSee release notes
In developmentStigma 1.0.45
Release notes

30included textures

19color blend modes

No decal planesprojection in your materials

Eevee + Cyclesone editable workflow

INSIDE BLENDER

Small marks.
Real character.

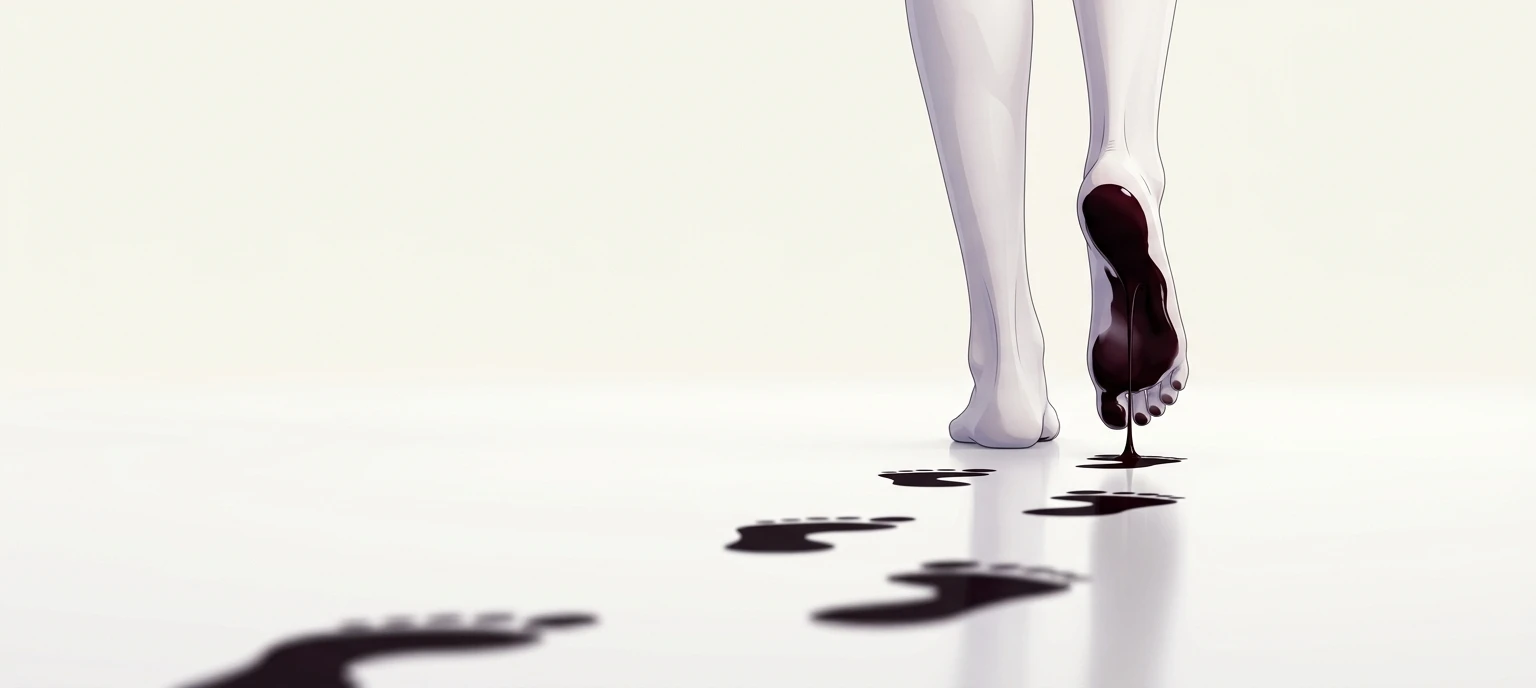
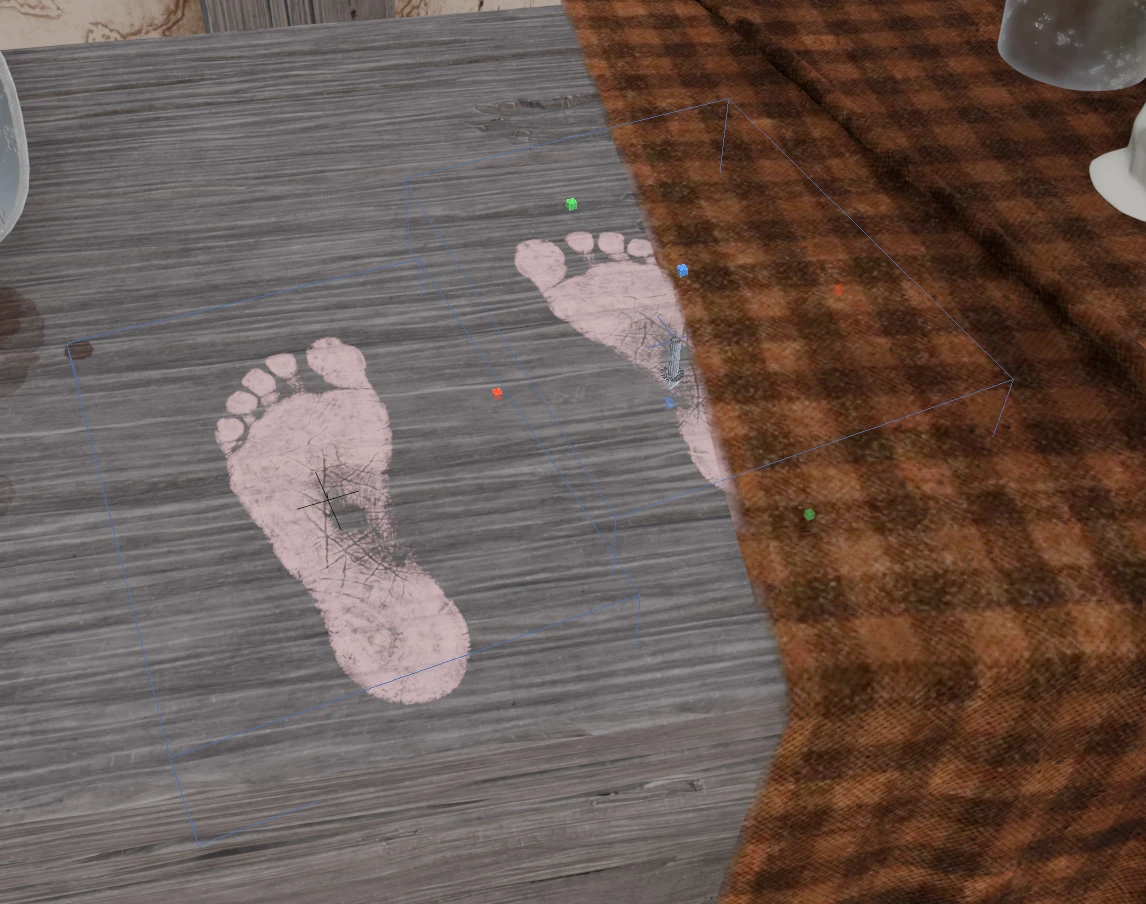
Footprints across wood and fabric. A label on painted metal. Surface details that make an object feel used, owned and lived in.

Pink footprint projections crossing wood and fabric in Blender, with Stigma’s volume handles visible
One mark, across different materials. Actual viewport capture from the current development workflow.
OUTLIER LABS / VIDEO DEMO

Playing
with Stigma.

See the add-on at work in Blender.

Watch on YouTube

FROM CLEAN TO LIVED IN

The details make
the difference.

A few familiar gestures. Enough control to make every mark your own.

01 / Put it where it belongs.

Put it where it belongs.

Place a label. Leave a footprint. Drag a texture straight onto a mesh and let Stigma align it to the surface.

  • Move naturally. Use G / R / S, hold Ctrl while moving to project onto a surface, or drag the projection arrow.
  • Shape it in the viewport. Resize width, height and depth with the handles. Pull a handle through the opposite side to mirror the image.
  • Keep marks facing the right way. Enable Facing to fade the projection on surfaces that turn away. Set Angle and Softness for the transition.
  • Keep the scene light on geometry. Projection lives in your material. There are no extra decal planes to manage.
Explore the controls

Dragging a decal from the Stigma texture library onto a stool, then resizing and rotating its projection in Blender.
Drag a texture onto a surface, then resize and rotate its projection to place the mark.

02 / Make a sticker feel like a sticker.

Make a sticker feel
like a sticker.

A mark can change how a surface catches the light. Set its finish as carefully as its color.

  • Control the finish. Material Influence blends in Metallic, Roughness and Specular settings, using the layer’s coverage.
  • Recolor without repainting. Switch to Solid Color, keep the image’s mask and adjust strength, contrast and inversion.
  • Go from image to stencil. Alpha preserves transparency. Luminance turns black-and-white textures into masks for dust, rust or paint.
Explore the controls

Adjusting Material Influence changes the kangaroo decal’s finish on a weathered mug in Blender.
Adjust Material Influence to give the decal its own finish while preserving the surrounding surface.

03 / Build a little history.

Build a little history.

One footprint becomes a trail. One patch of wear becomes a surface with a past.

  • Duplicate a placement. Ctrl+D, Shift+D or Alt+D repeats the same layer image. Move the new copy and keep every placement editable.
  • Tile inside a volume. Repeat tiles a texture inside its bounds. Resize the area without stretching the pattern; set tile size and X/Y offsets.
  • Choose how marks meet. Use Topmost for the strongest coverage, or Blend to build up overlapping marks. Layer color has 19 blend modes.
Explore the controls
Tiling diagonal stripes along a wooden post and duplicating STOP sign decals into separate placements in Blender.
Tile stripes inside the projection bounds, then duplicate a STOP sign into individually editable placements.

04 / Several pieces. One shared story.

Several pieces.
One shared story.

Carry a mark across an assembly, then decide exactly how its groups, layers and placements fit together.

  • Choose the receiving objects. Create from selected meshes. Add or remove members explicitly; moving the projection keeps that member list fixed.
  • Compose from the top down. Higher groups and layers sit on top. Disable a group, layer or placement while keeping its settings.
  • Pin marks to an object. Pin a group to a receiver so its placements follow that object. All placements share one anchor; change it while keeping their world positions.
Explore the controls

A shared Stigma group projects a white splatter across a tablecloth, a wooden table and several mugs in Blender.
Carry one splatter across the tablecloth, table and mugs with a shared group of receiving objects.

05 / Follow the curve.

Follow the curve.


Wrap a label around a bottle. Carry a tattoo or pattern around a limb. Cylindrical projection gives your image a different way onto the surface.

  • Wrap up to 360°. Switch a placement from Plane to Cylinder. Set its radius, height and angular sector, then position the image independently.
  • Fit a tapered shape. Tapered Tube gives each end its own radius. Drag the diameter handles to adjust Reference Radius; Keep Pattern Size compensates for the changing radius.
  • Control the edges. Adjust angular, height and radial fades, use radial Facing, and repeat the pattern around or along the cylinder.
  • Keep the artwork editable. Change the image, color and finish as before. Bake to a UV layer when the mark should follow a deforming surface.
Explore cylindrical projection
A pink geometric pattern wraps around a character’s leg using Stigma’s Cylinder projection and Tapered Tube controls in Blender.
Wrap a pattern around a leg with Cylinder, then fit the projection with Tapered Tube.

06 / Make the marks part of the texture.

Ready to bake.

Keep the original setup for another pass. Capture your color and finish, make a tattoo follow the skin, or create a copy that opens without Stigma.

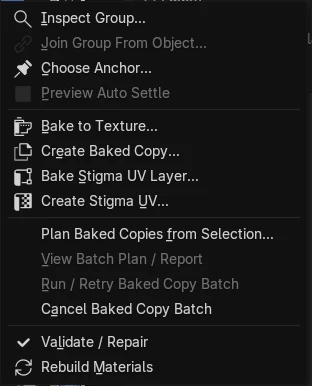
  • Bake to Texture. Capture Base Color, Metallic, Roughness, Specular IOR Level and Stigma Coverage. Pack the maps or save new PNG 16-bit / EXR 32-bit files.
  • Bake Stigma UV Layer. Let your marks follow Armature and shape keys with stable UVs, keeping the base material live. Edit the sources, update the bake or restore projection.
  • Keep adding marks. Create another Stigma on a duplicated UV-baked receiver. Shared UV materials are separated as needed, keeping the existing bake and your material edits.
  • Create Baked Copy. Make an independent static copy with its own mesh, materials and packed maps. Keep the original editable.
  • Batches, atlases and UDIM. Plan copies from a selection, review the report and retry unfinished objects. Repack islands, use Smart unwrap, share an atlas or capture prepared UDIM tiles.
Find your bake workflow
Stigma Tools menu in Blender showing Bake to Texture, Create Baked Copy, Bake Stigma UV Layer, Create Stigma UV and batch planning commands.
Your bake tools, together. Select the receiving mesh, then open the gear menu in the Stigma panel.

YOUR TEXTURE SHELF

Start with 30.
Make room for yours.

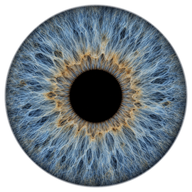
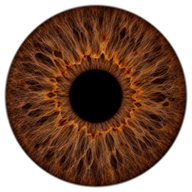
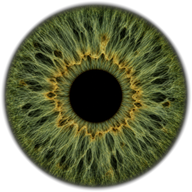
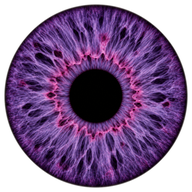
Footprints, drips, dirt, scratches, rust, moisture, signs, color stickers and four irises in blue-gray, brown, green and violet. A bundled library to get moving, and personal folders to make it your own.

Blue-gray iris texture
Blue-gray
Brown iris texture
Brown
Green iris texture
Green
Violet iris texture
Violet
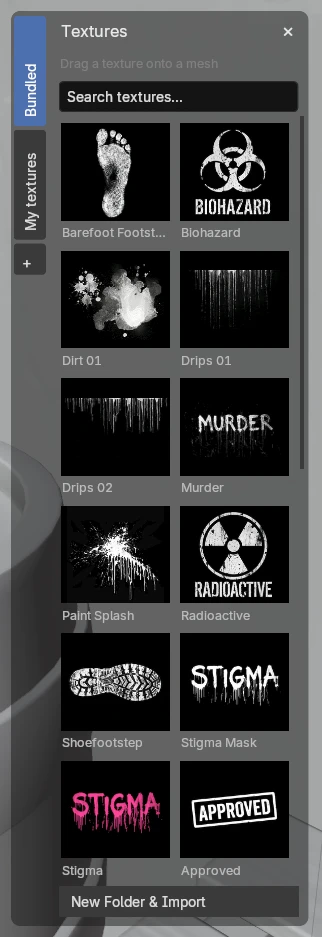
  • Find it quickly. Search textures by name in a floating shelf that follows your Blender theme.
  • Build your own collection. Import several images, create and rename folders, and drag thumbnails between them.
  • Keep it close. Imports live in Blender’s configuration across sessions and add-on updates. Images used from the shelf are packed into your project.
  • Use it in client work. Bundled artwork allows personal and commercial projects, without attribution. Standalone redistribution of the texture library is excluded.
Meet your texture library
Stigma texture shelf with Bundled and My textures tabs, search, thumbnail previews and New Folder & Import
Actual texture shelf. The bundled collection and your own folders stay separate.

ROOM TO GO FURTHER

A material workflow.
With room for yours.

01

Your nodes stay yours.

Keep artistic nodes in the main material tree. Stigma rebuilds its own generated groups and preserves the material connections it manages.

02

A mask you can use.

Connect the compositor’s coverage Mask to emission or your own shader mixes. Those connections survive material rebuilds.

03

Try it. Undo it.

Placement, duplication and texture edits support Undo. Deleting a placement also cleans up its empty layer and group; Undo brings them back together.

04

Settle onto a surface.

Preview Auto Settle samples a surface beneath a placement. Inspect the proposed result, then confirm it or cancel.

05

Keep your scene readable.

Highlight receivers, reveal other groups’ bounds and select a placement from its outline. Hide gizmos to see the artwork clearly.

06

Inspect when you need to.

Stigma Tools brings objects, materials and recorded issues together. Validate / Repair and Rebuild Materials are there when a scene needs attention.

FROM IMAGE TO IMPRESSION

Three steps.
A different surface.

01

Choose a surface.

Select a mesh with a compatible Principled material and choose Create Stigma. Or open Change Texture from F3 and drag a library texture onto the mesh.

02

Make your mark.

Move, rotate and resize the projection. Change its image, adjust the depth, and place it against the surface with the arrow or Ctrl while moving.

03

Make it yours.

Recolor it, change its finish, build up layers or repeat it across the scene. Keep the image and each placement editable.

Follow the getting started guide

BEFORE YOU START

Made to fit
your materials.

Blender 4.2.23+.
Eevee and Cycles.

Compatibility & limits
What materials can I use?

Local, editable materials with a Principled BSDF connected directly to Material Output. Stigma projects into Base Color and can blend Metallic, Roughness and Specular per layer. Linked materials, Library Overrides and arbitrary shader layouts are outside the supported workflow.

Can I wrap an image around a curved surface?

Yes. Cylinder projects around an axis, up to 360°, with controls for radius, height, image position and edge fades. Tapered Tube adds different radii at each end. The projection is rigid in the current pose; bake a Stigma UV layer to make a tattoo follow skin deformation. Inspect the fit and seam on your model.

Does geometry block the projection?

Projection is bounded, but does not compute occlusion. Facing filters surface orientation; in Cylinder it follows the outward radial direction. More than one surface inside the volume can still receive the image. Control the bounds and receivers. Cylinder is restricted to the group’s explicit receivers; Plane can also affect other users of a shared material.

Can I bake my marks or make an independent copy?

Yes. Bake to Texture captures supported material channels, Bake Stigma UV Layer keeps marks on a deforming mesh, and Create Baked Copy makes a static copy with its own mesh, materials and packed images. Batches, shared atlases and prepared UDIM destinations are available. UVs and materials are checked before capture; review map conventions for your target application.

Can I keep adding marks after a UV bake?

Yes. Select the baked receiver and use Create Stigma. If you duplicated it, Stigma separates shared UV materials while preserving the existing baked images, retained sources and artistic material edits. You do not need to rebake the existing mark. Continue after a UV bake.

Which systems have been tested?

The current release package and selected regressions have been checked on Linux with Blender 4.2.23, 4.5.14 and a local 5.2.0 build. The creator also tested Windows for the 1.0 launch; the current Windows matrix and macOS remain unverified. External PNG dragging has been tested on Linux/X11.

Is Stigma available to buy?

Yes. Stigma is available on Superhive and Gumroad. Visit either listing for pricing and purchase options.